Mould damage and suction wedges: conservation of felted paper in a bound iron-gall ink manuscript
Every conservation treatment we undertake at the University Library is done with the specifics of the collection item in mind. We consider the materiality of the item, its condition, what the requirements of the treatment are, and what the logistics of carrying out the treatment will look like.
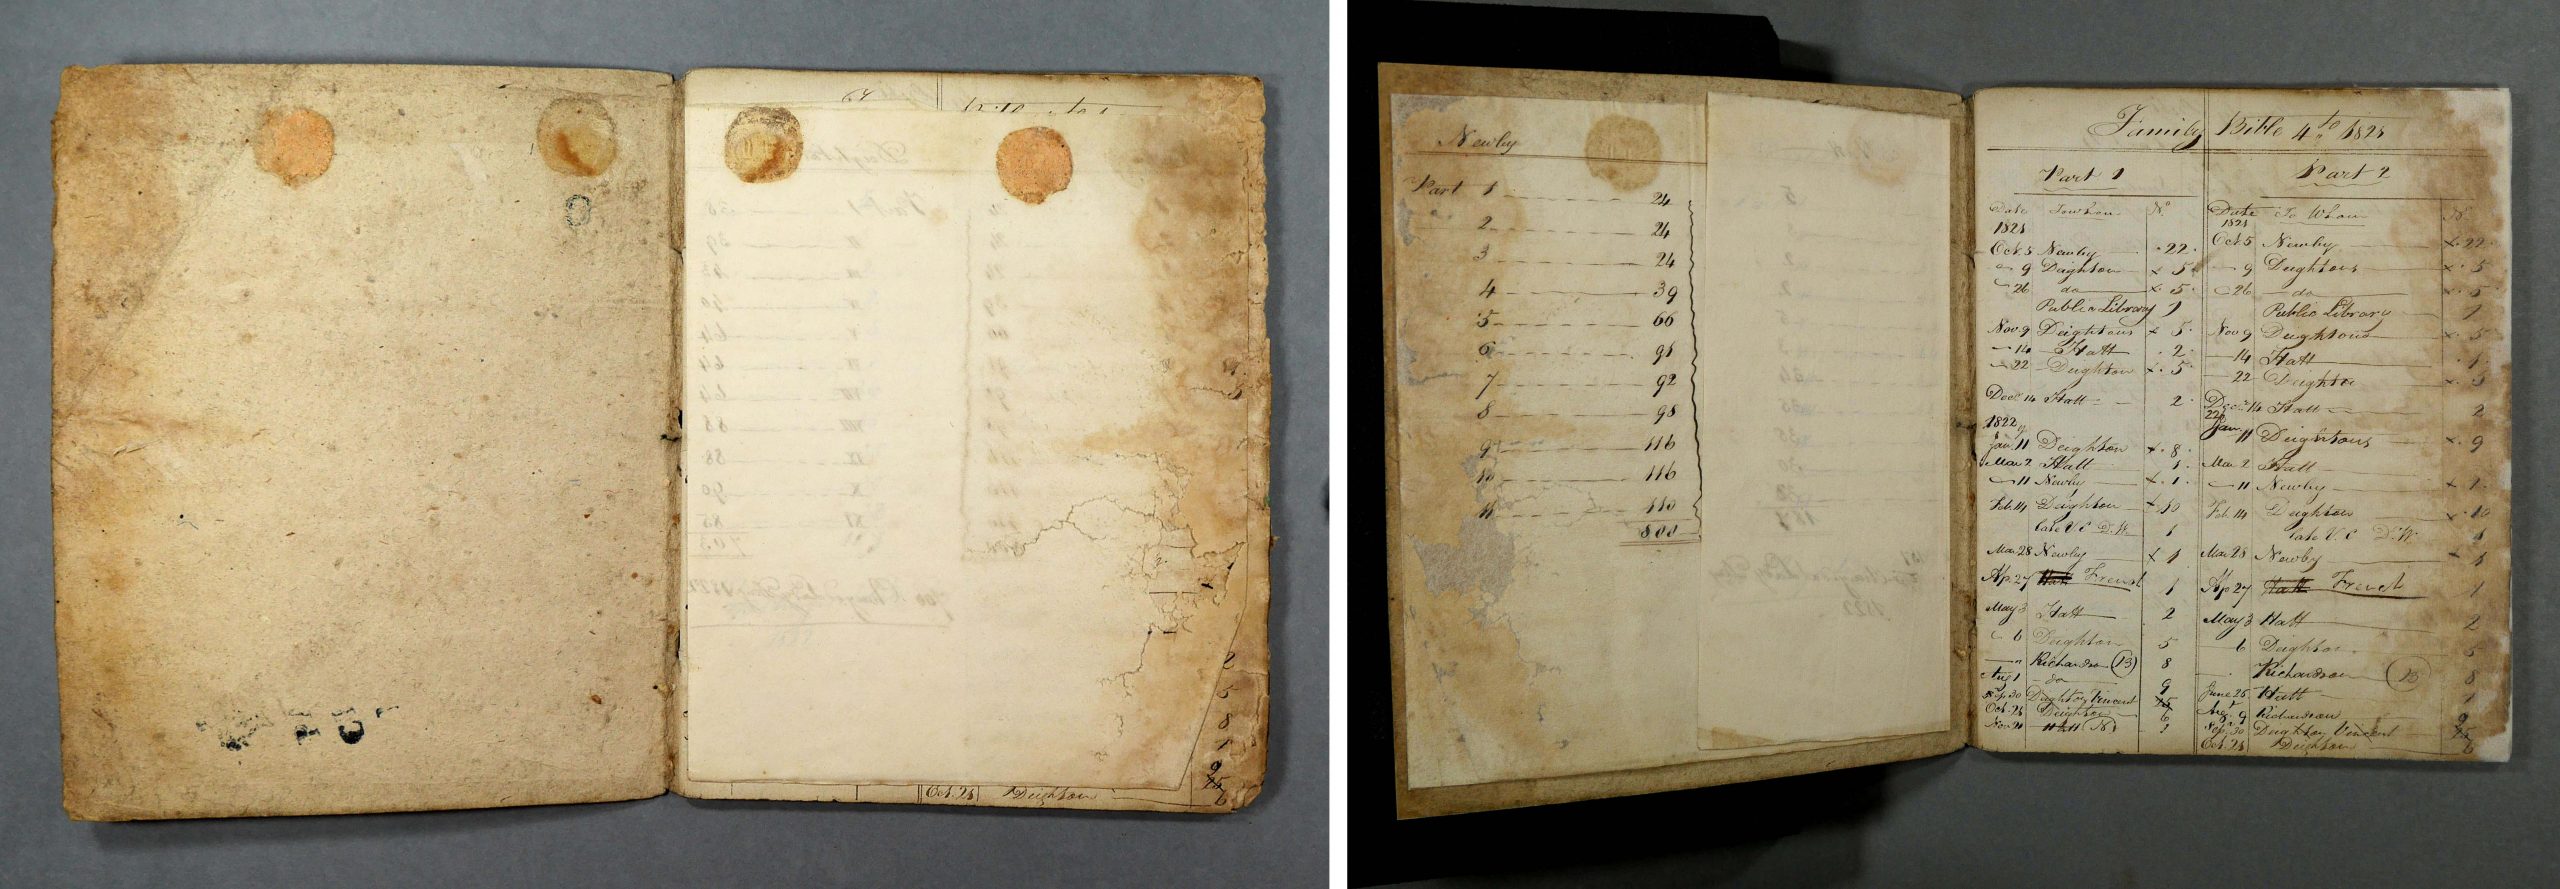
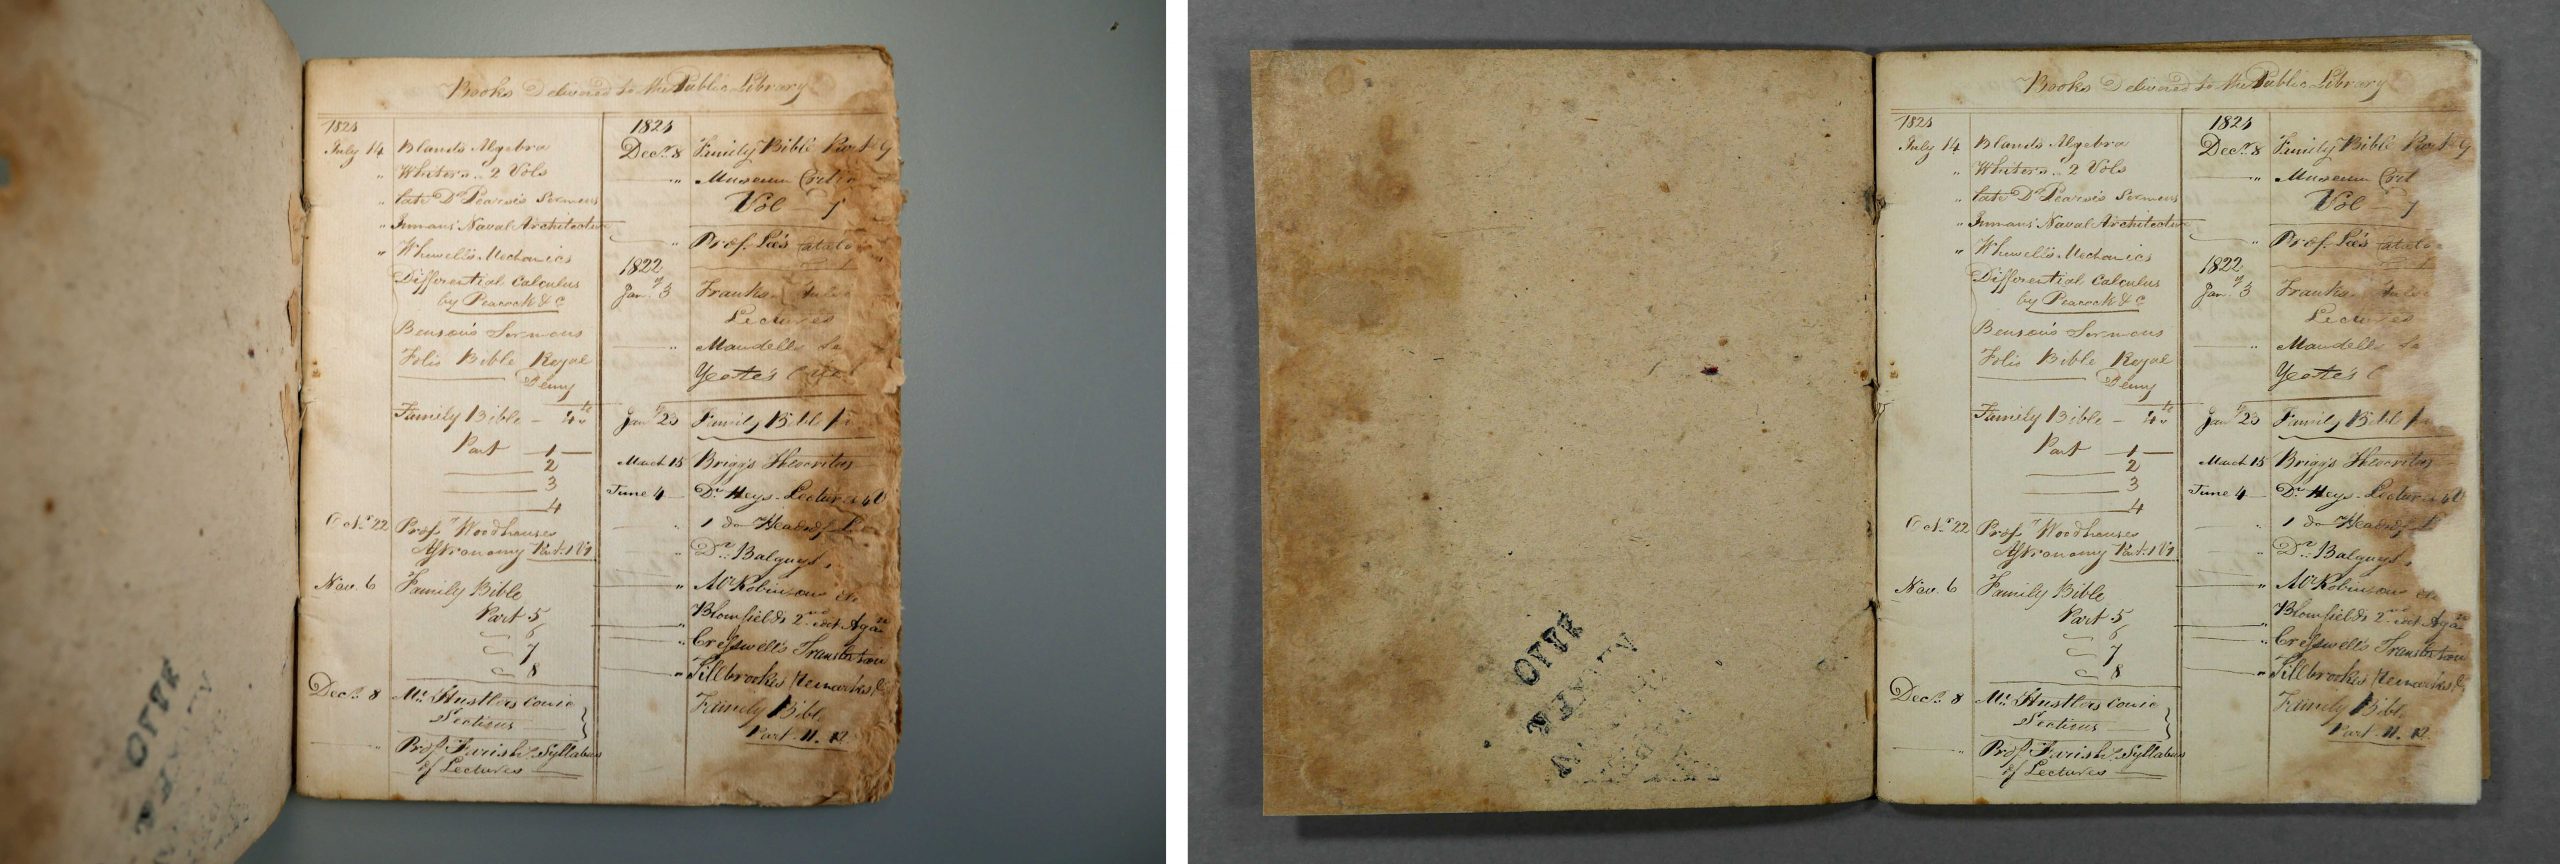
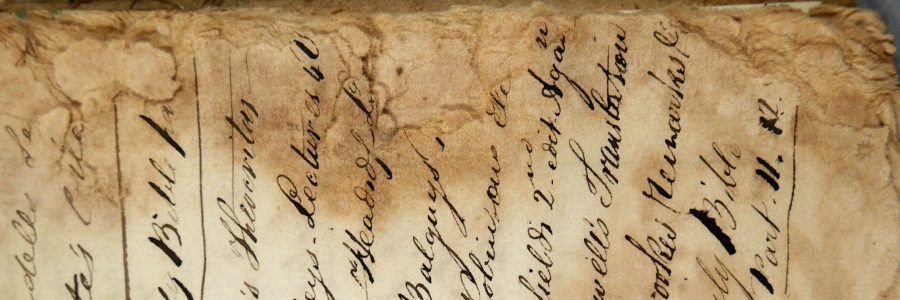
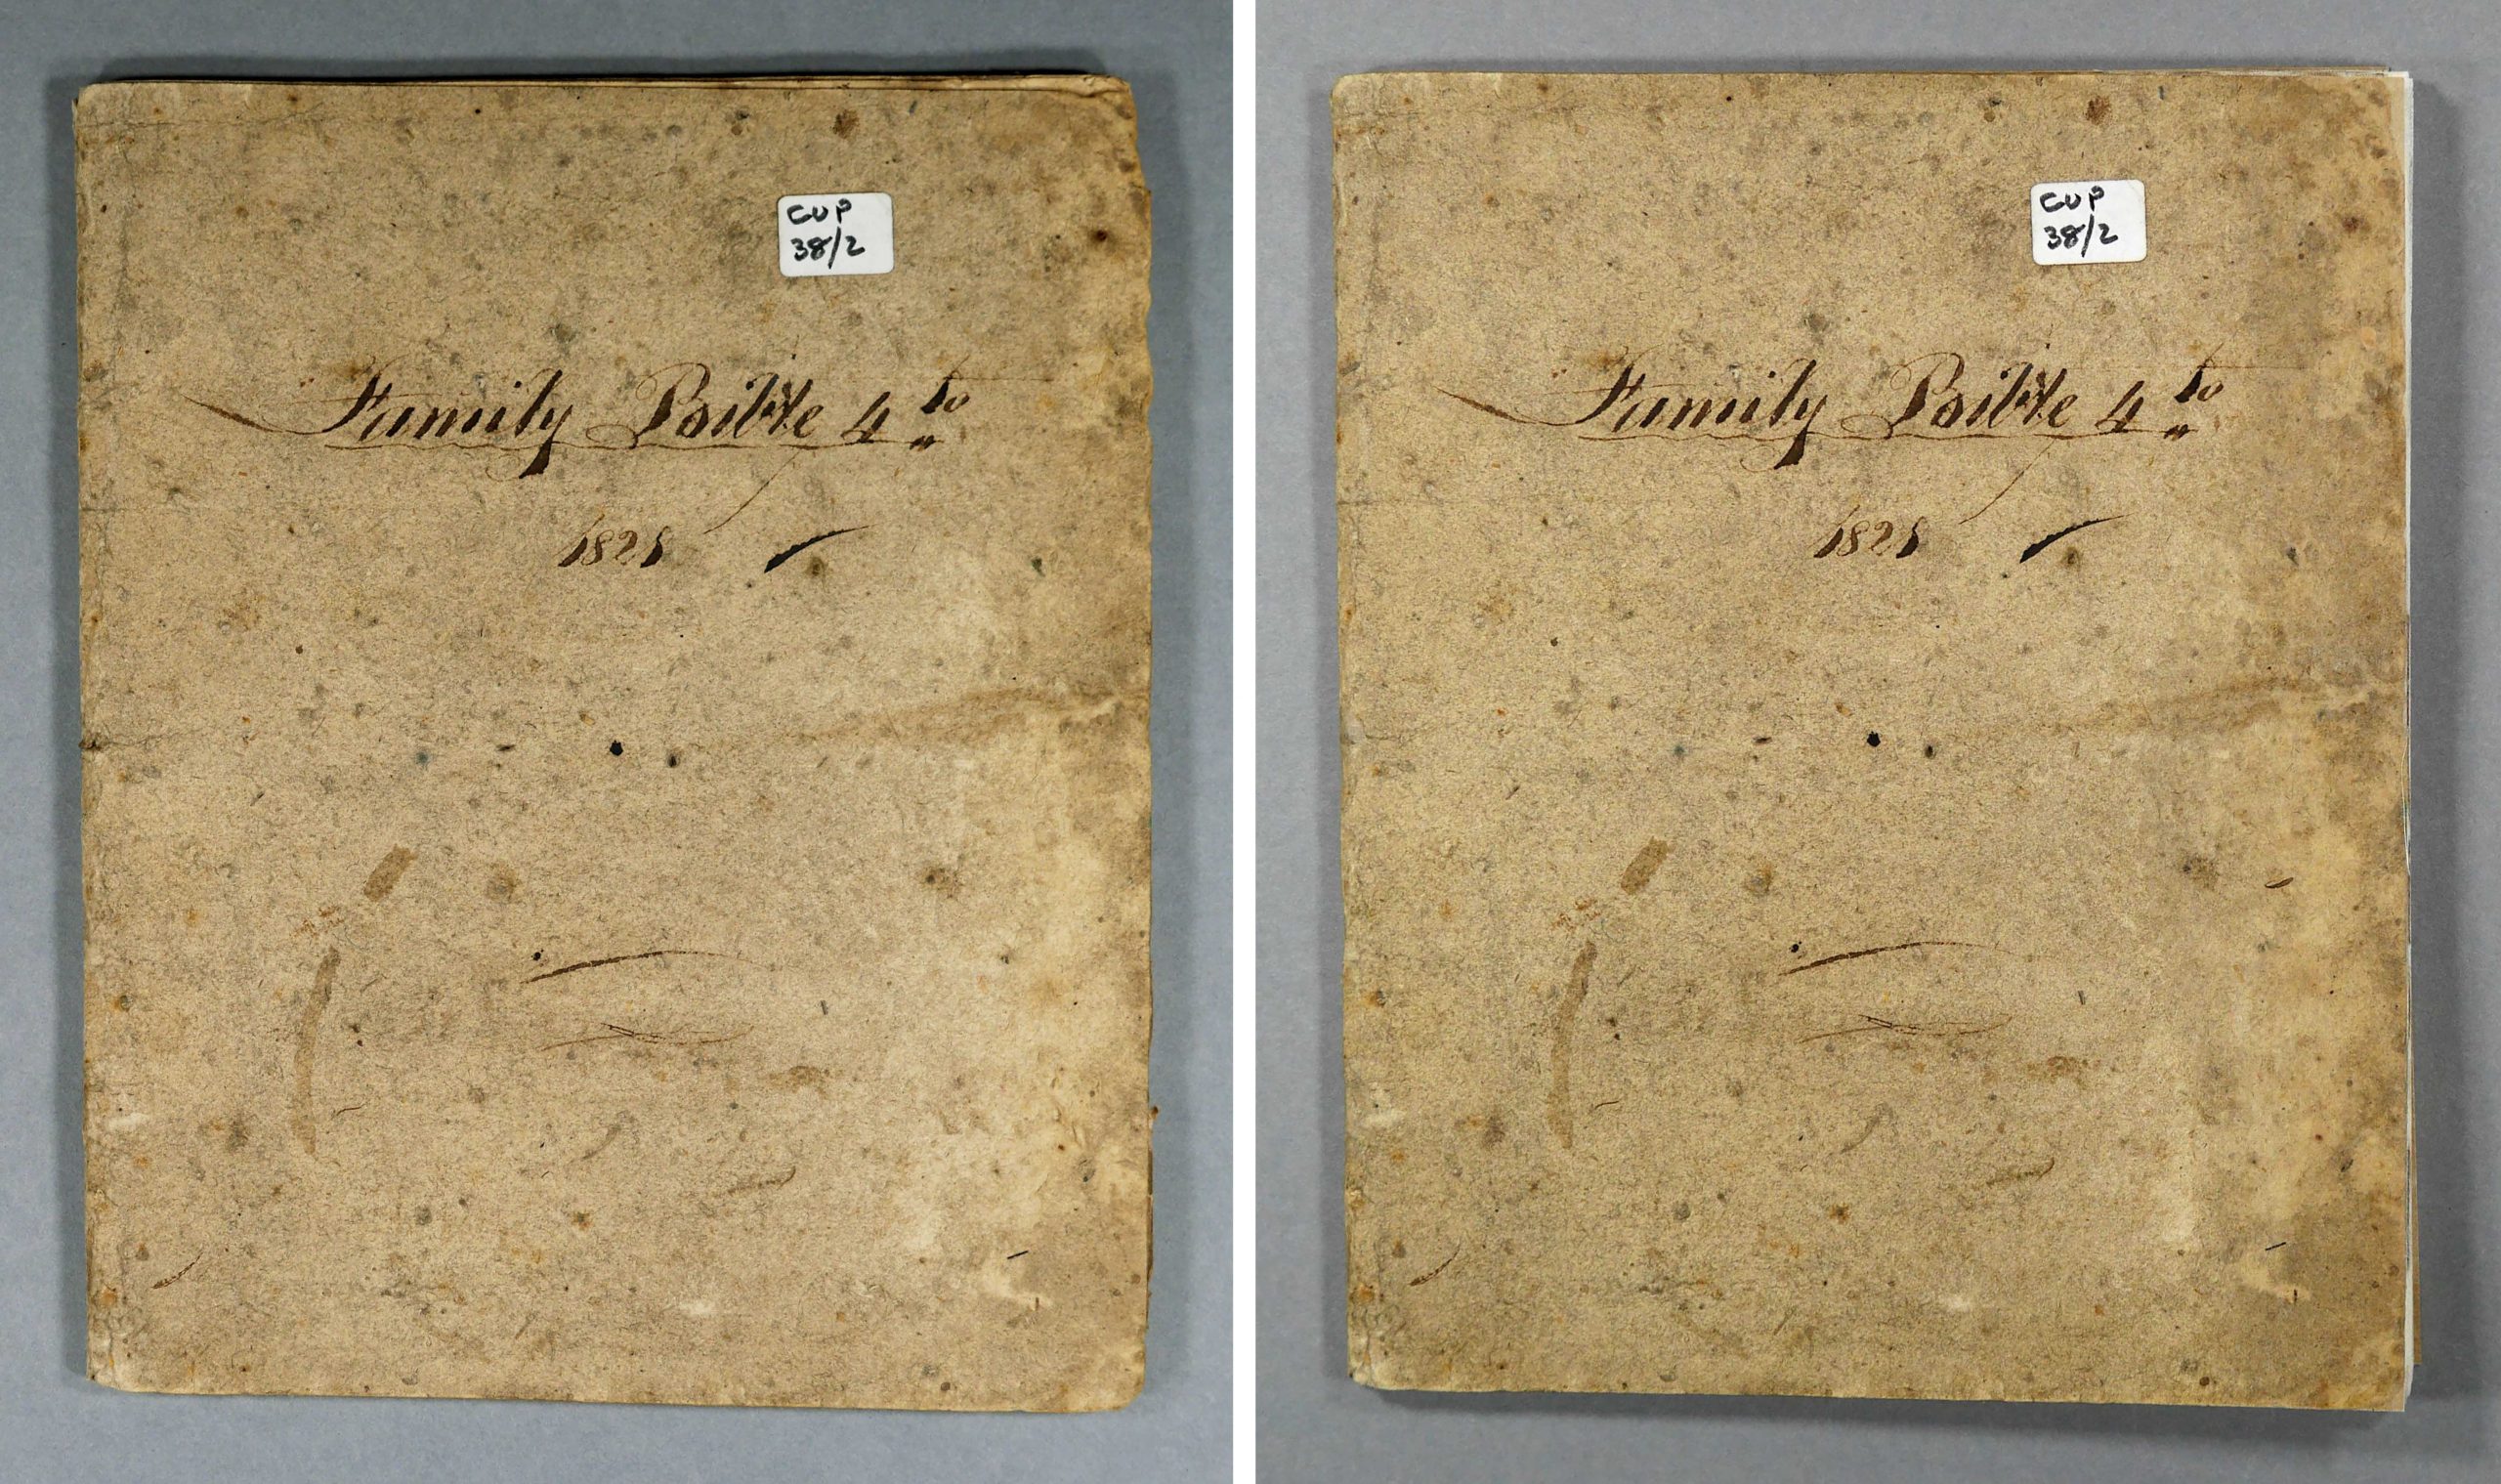
UA CUP 38/2, a single section volume from the Cambridge University Press Archive, was in a fragile state, having suffered from historic mould and water damage. As a result, its paper fibres had suffered from hydrolysis and lost their chemical cohesion properties – meaning that the paper was essentially ‘powdering’ to the touch as the chemical bonds between the fibres failed.
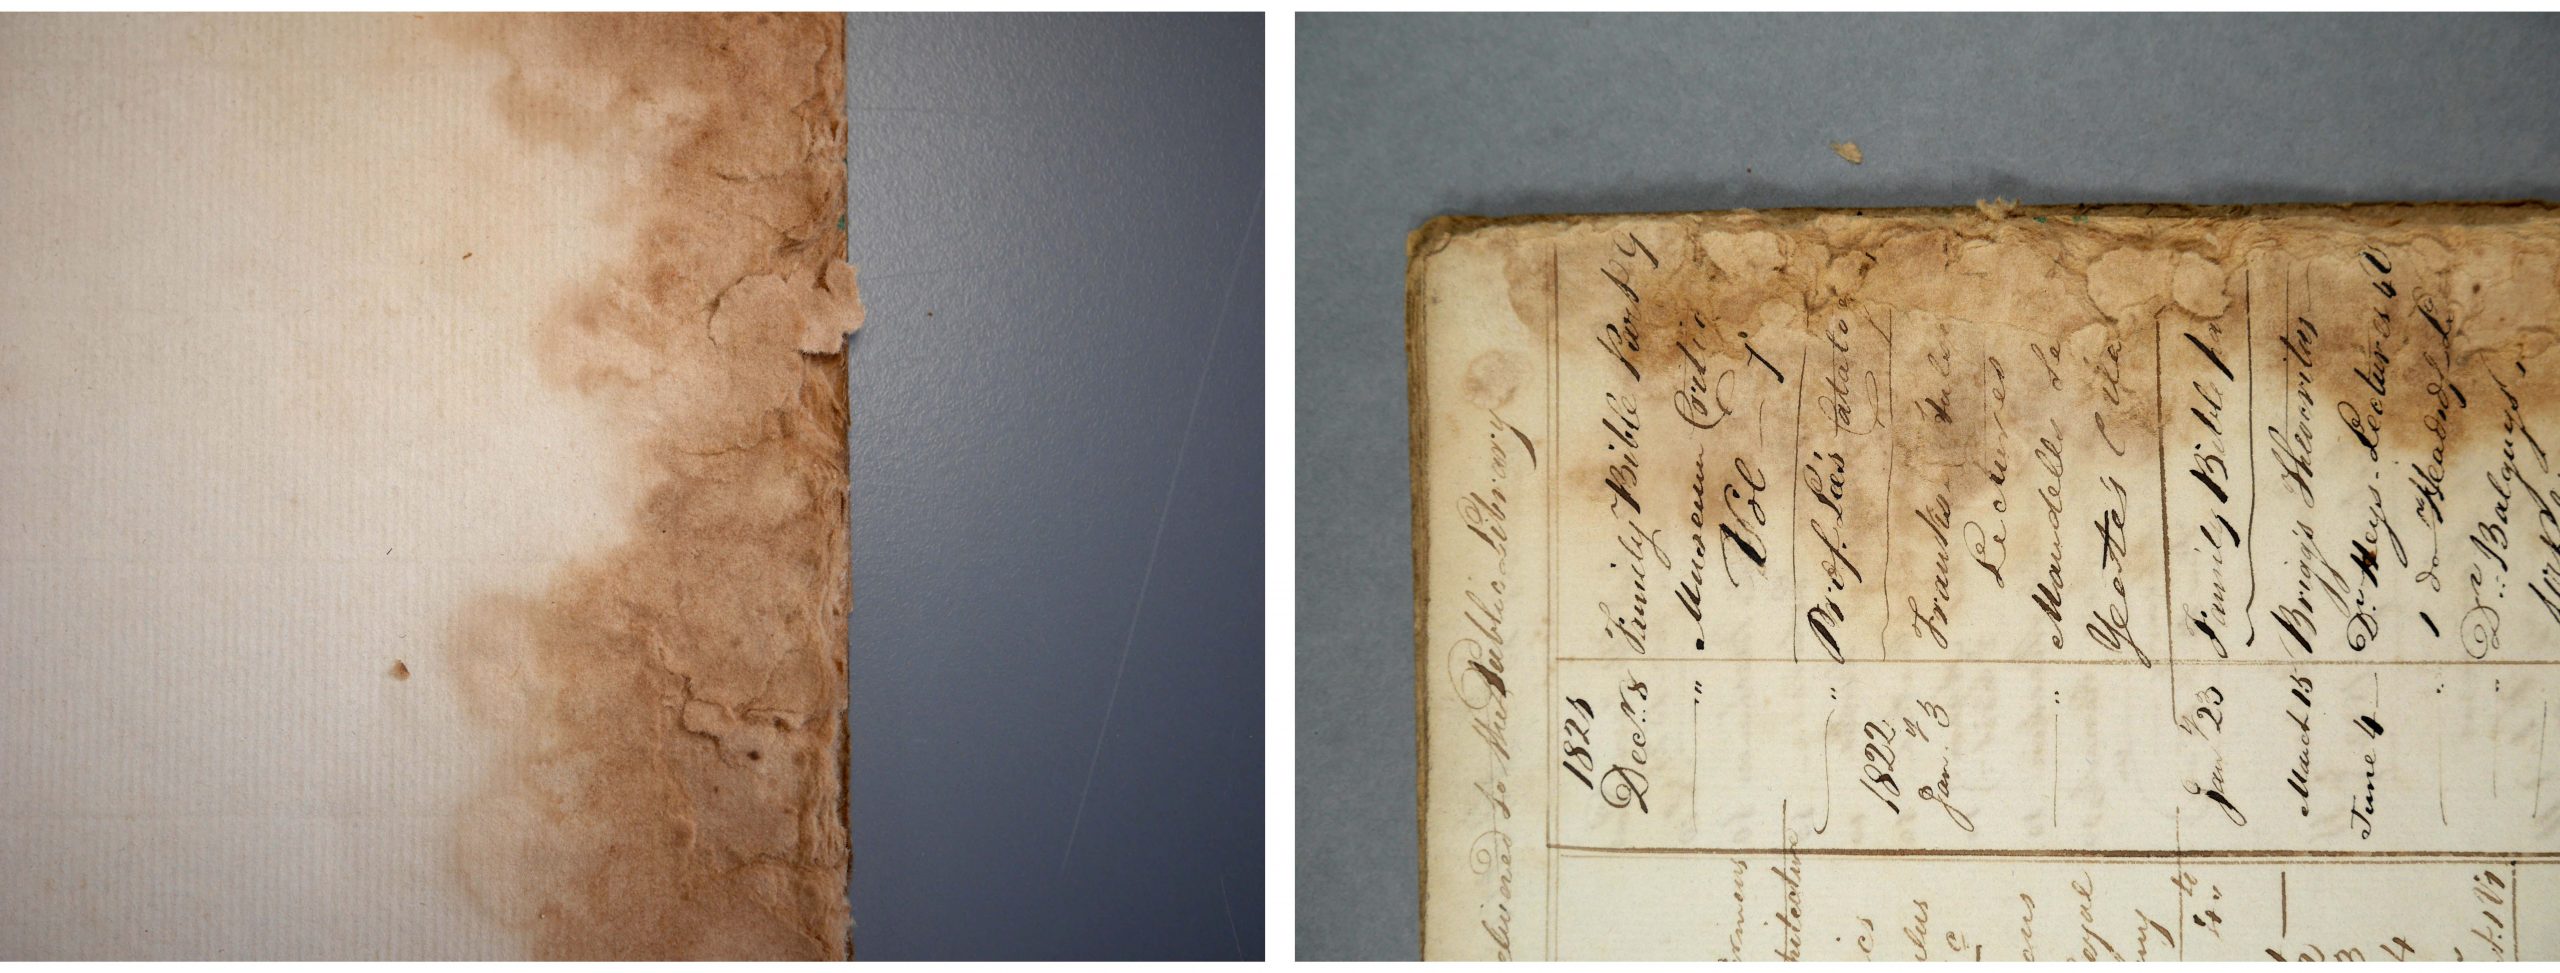
It was clear that the edges of the volume needed to be consolidated (to reinstate cohesion between the fibres), strengthened (to facilitate future handling) and any losses filled (to protect the already damaged edges of the losses).
But how to undertake this on such a fragile bound item? Cambridge University Press Conservator, Sally Kilby, identified three key factors that would inform the treatment plan:
- The presence of iron gall ink
- The fragility of the paper substrate
- The bound format of the volume
The presence of iron gall ink requires a specific type of treatment – namely one that reduces the exposure of the ink to moisture, and only careful, controlled applications of solvents/adhesives. This is to prevent the migration of soluble compounds in the ink into the surrounding paper, and to avoid the tendency of water to accelerate its corrosive action on paper.
To avoid the introduction of water to the volume, it was decided that ethanol would be used to reactivate a 2% Klucel G remoistenable tissue, which is a well-established repair method for felted iron-gall ink manuscripts in our studio. Remoistenable tissues involve the application of an adhesive to one side of the repair tissue, before it is allowed to dry. When it is time to apply the repair tissue to an item, the adhesive is ‘reactivated’, usually with a small amount of solvent or water. The use of a remoistenable tissue allows for greater control and placement of a repair on a fragile paper substrate.
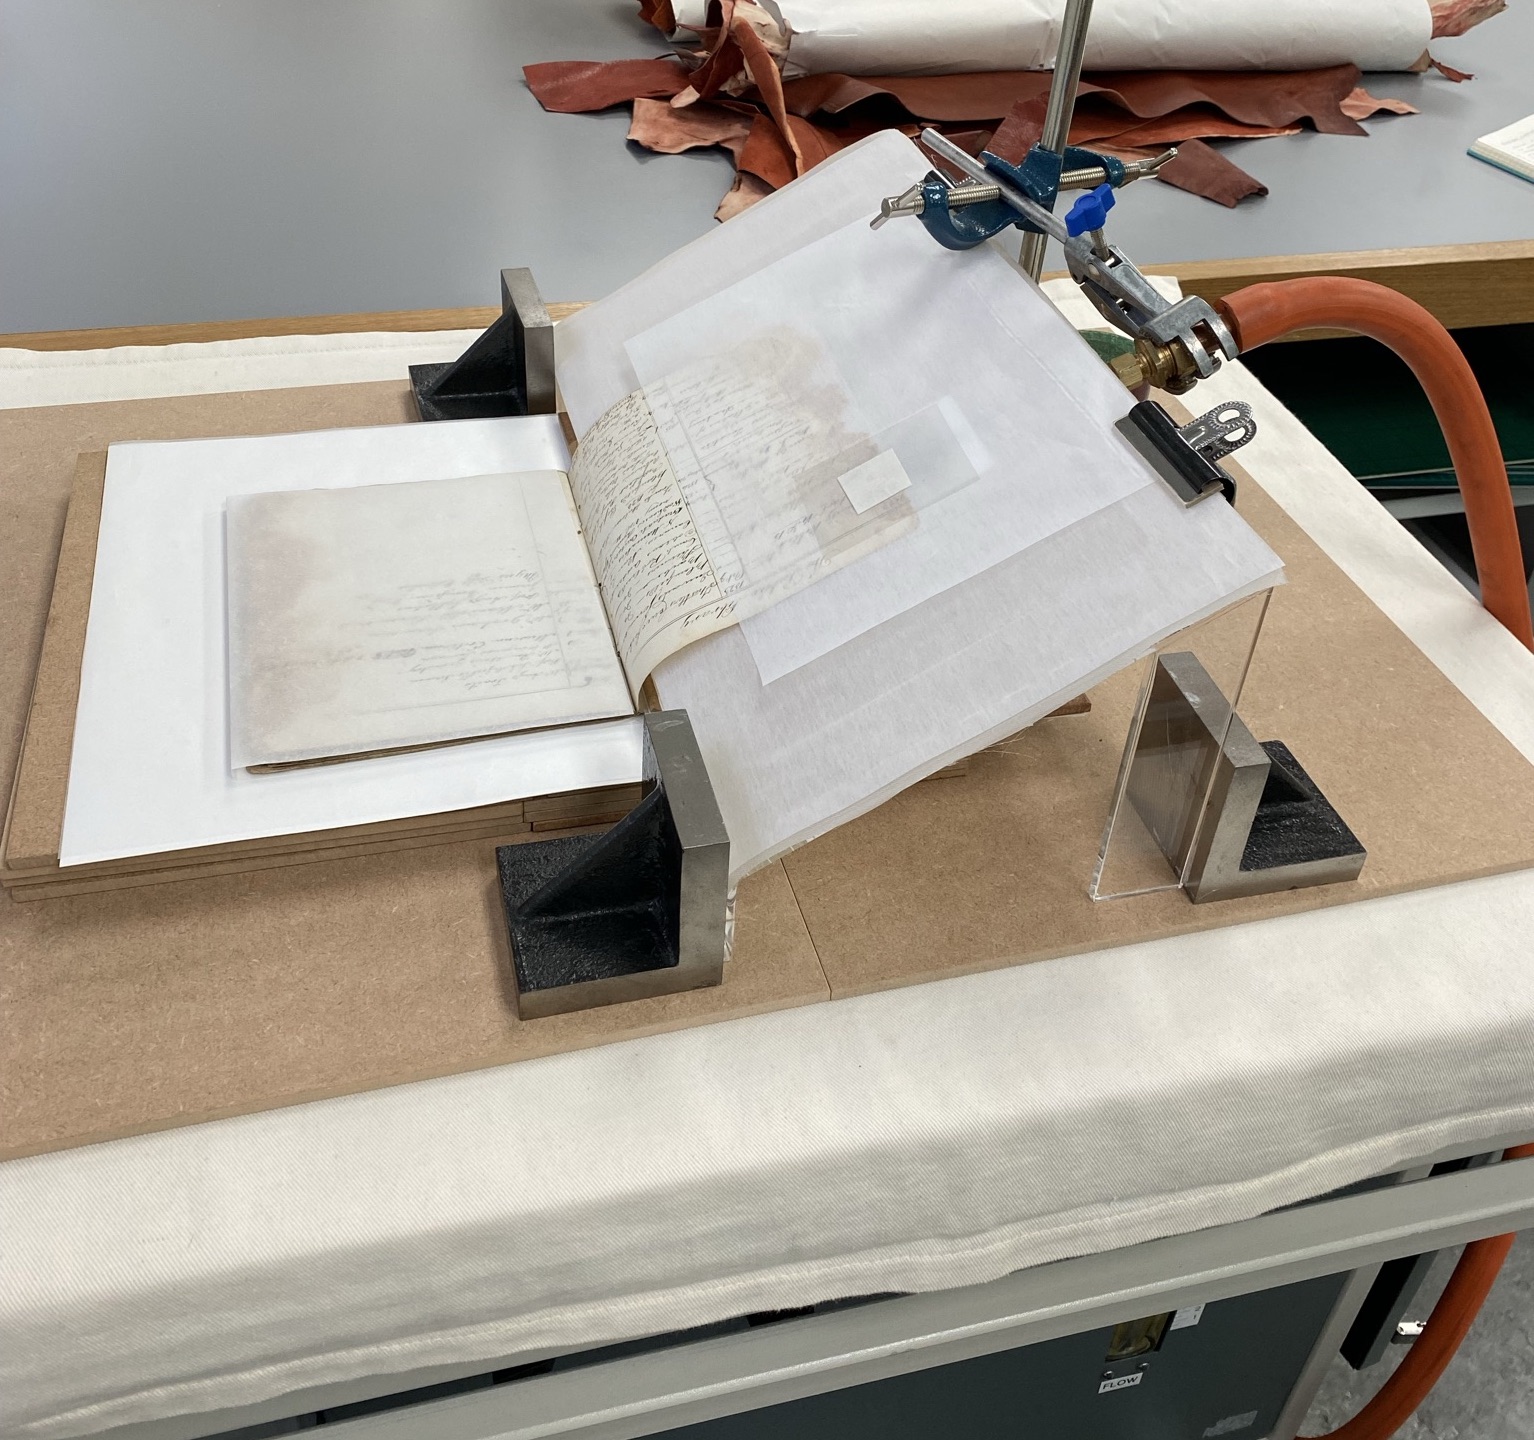
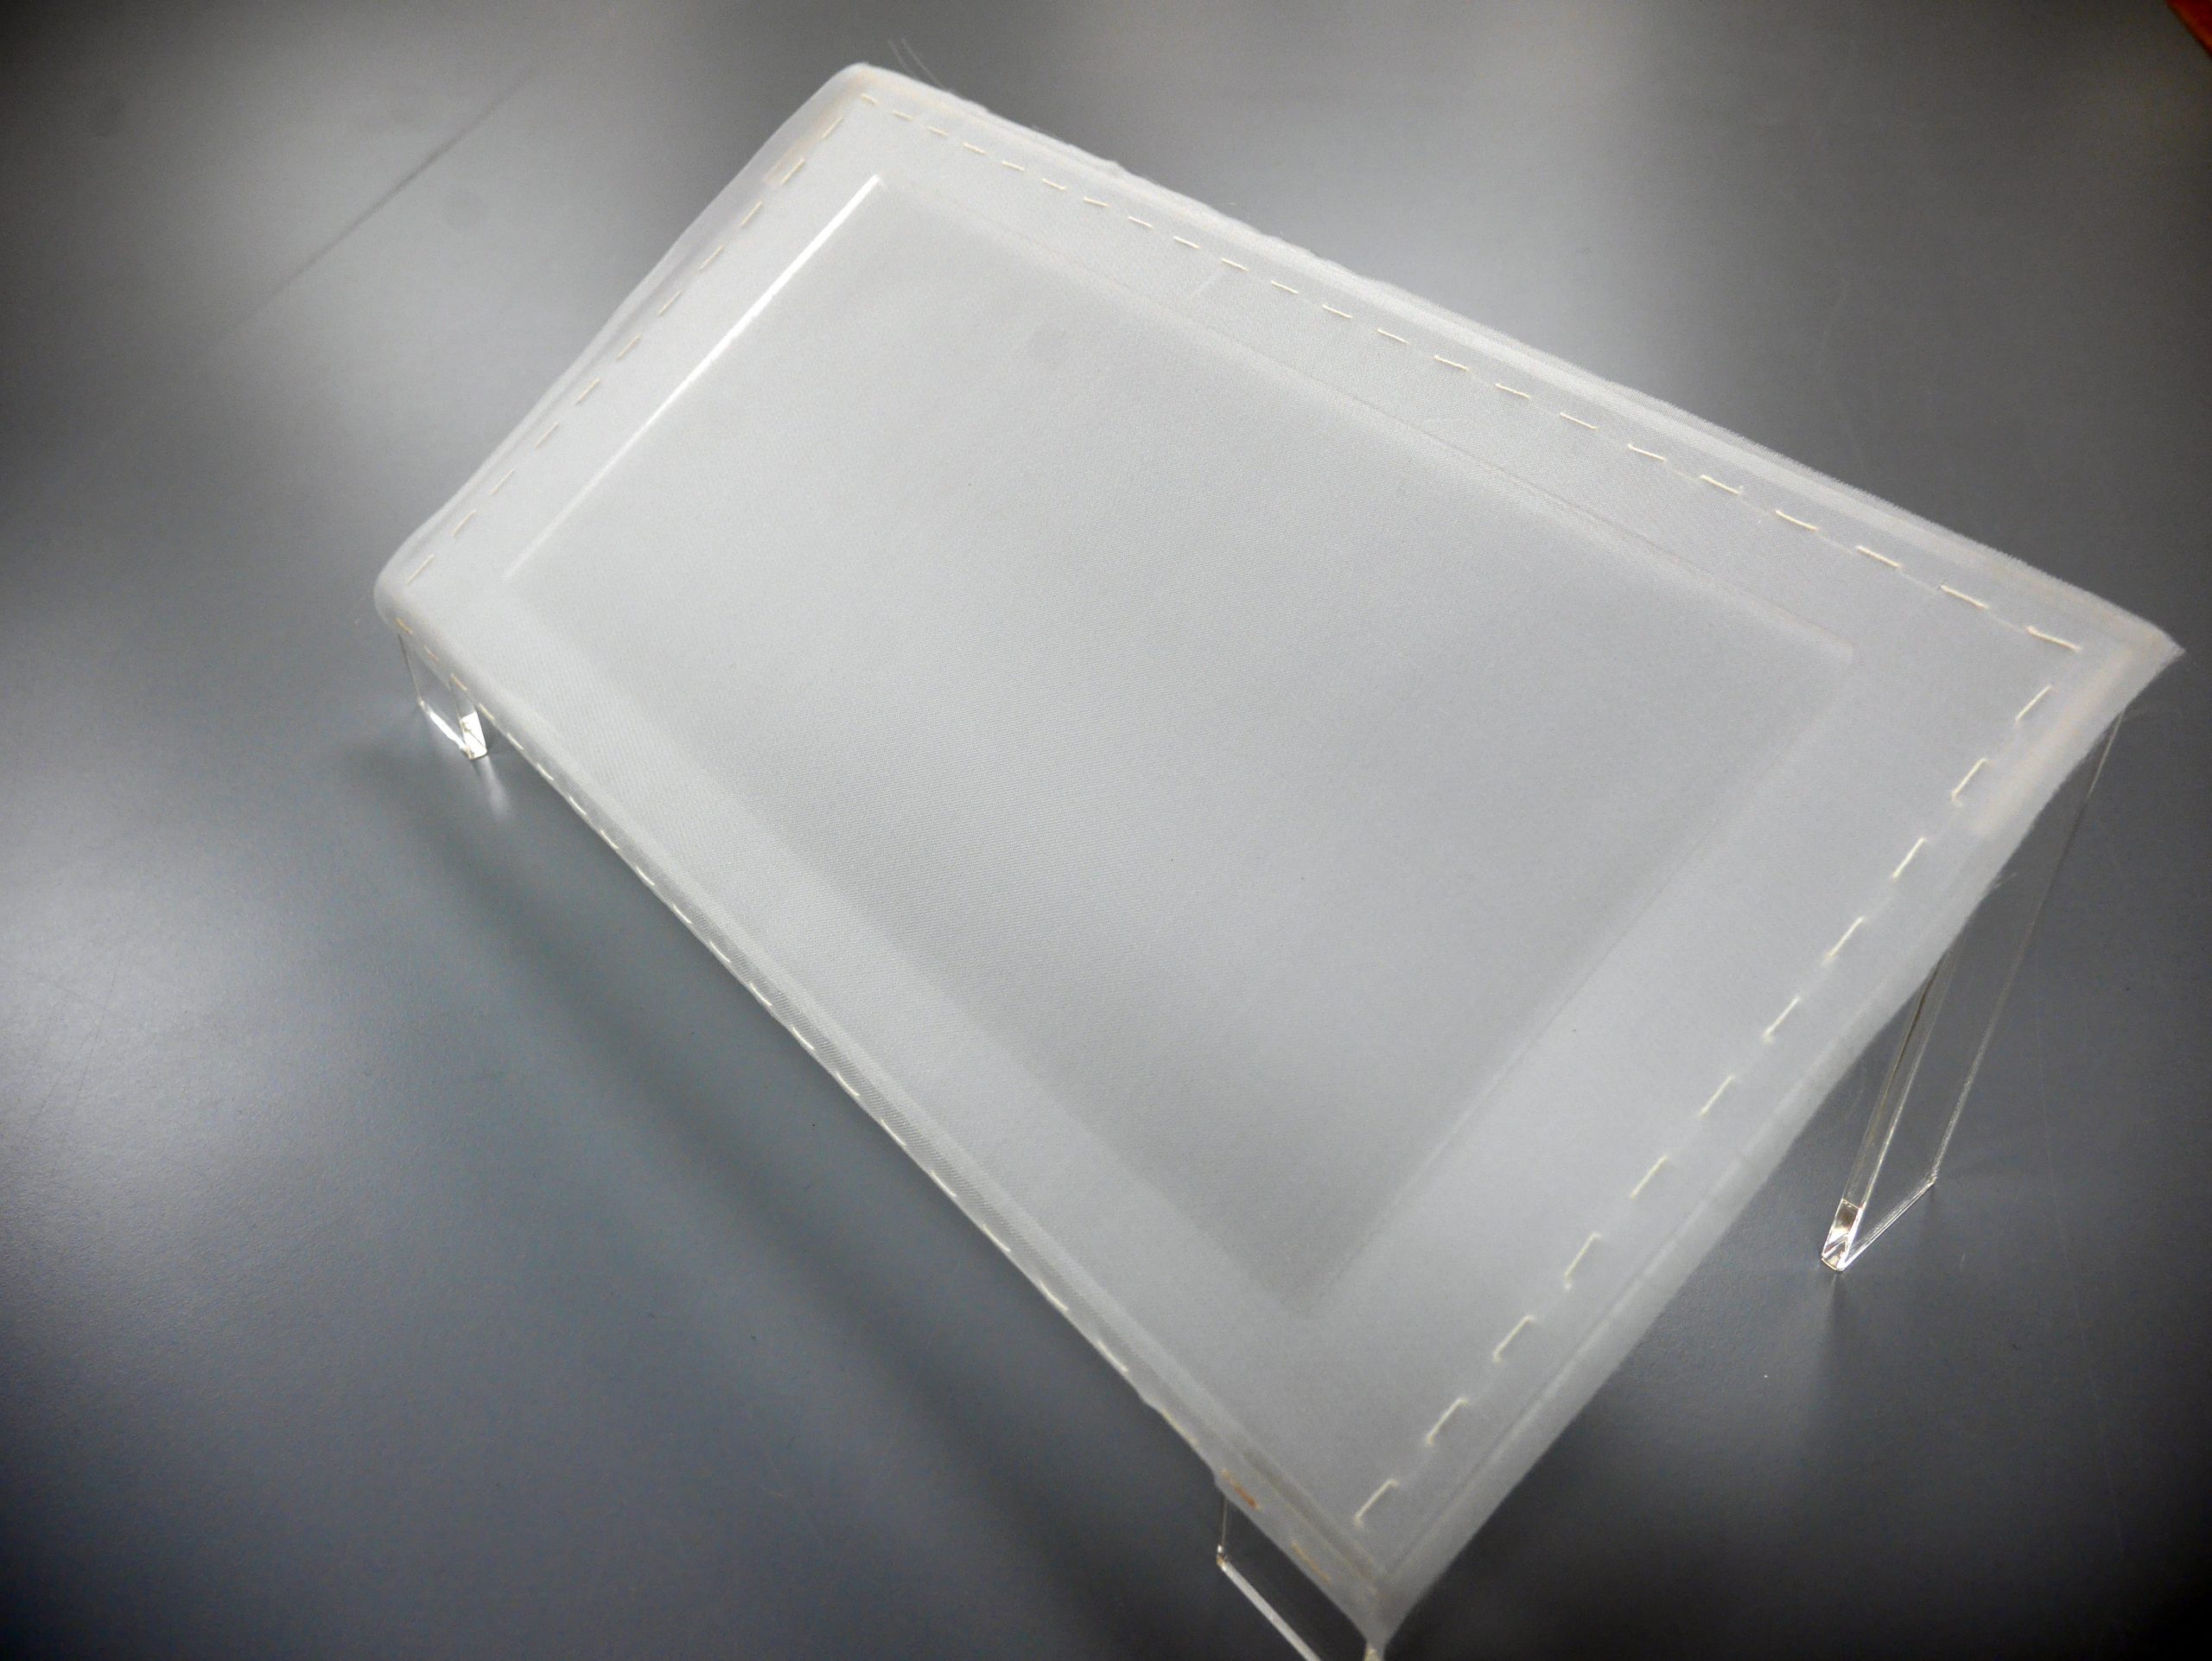
To facilitate even greater control of the ethanol during reactivation, and to ensure that the repairs adhered sufficiently well, this repair is always applied on a suction table. The suction creates a vacuum beneath the item, preventing the ethanol from floating away or spreading too quickly across the surface, and ensures a firm but delicate contact between the object and the repair tissue. For a flat paper item (i.e., one that hasn’t been bound into a book) application is relatively straightforward, but a bound item can’t be placed flat on our suction table!
Luckily, we also have a suction wedge attachment – which means that we can bring suction to the book from a variety of angles. This, combined with an acrylic window support, allowed the application of this repair method to the bound manuscript – a first for our studio!
And so, after a light surface clean of the covers with a polyurethane sponge, the text block pages were repaired using a 2% Klucel G remoistenable tissue (untoned, 5gsm RK0). Both the recto and verso of each page were repaired with RK0, and an extra layer of RK0 was sandwiched between the two layers where losses had occurred.

Figure 6: the suction wedge (beneath the Saatifil screen) and a Melinex® sheet (on top of the ethanol-impregnated blotter) were used to create a vacuum that prevented the ethanol from spreading further than the intended area. The ethanol-impregnated blotter was applied for approximately 10 seconds per area.
Figure 7: initially, the recto of each page was repaired to facilitate handling. After this, the fill and second repair were adhered to the verso of each page.
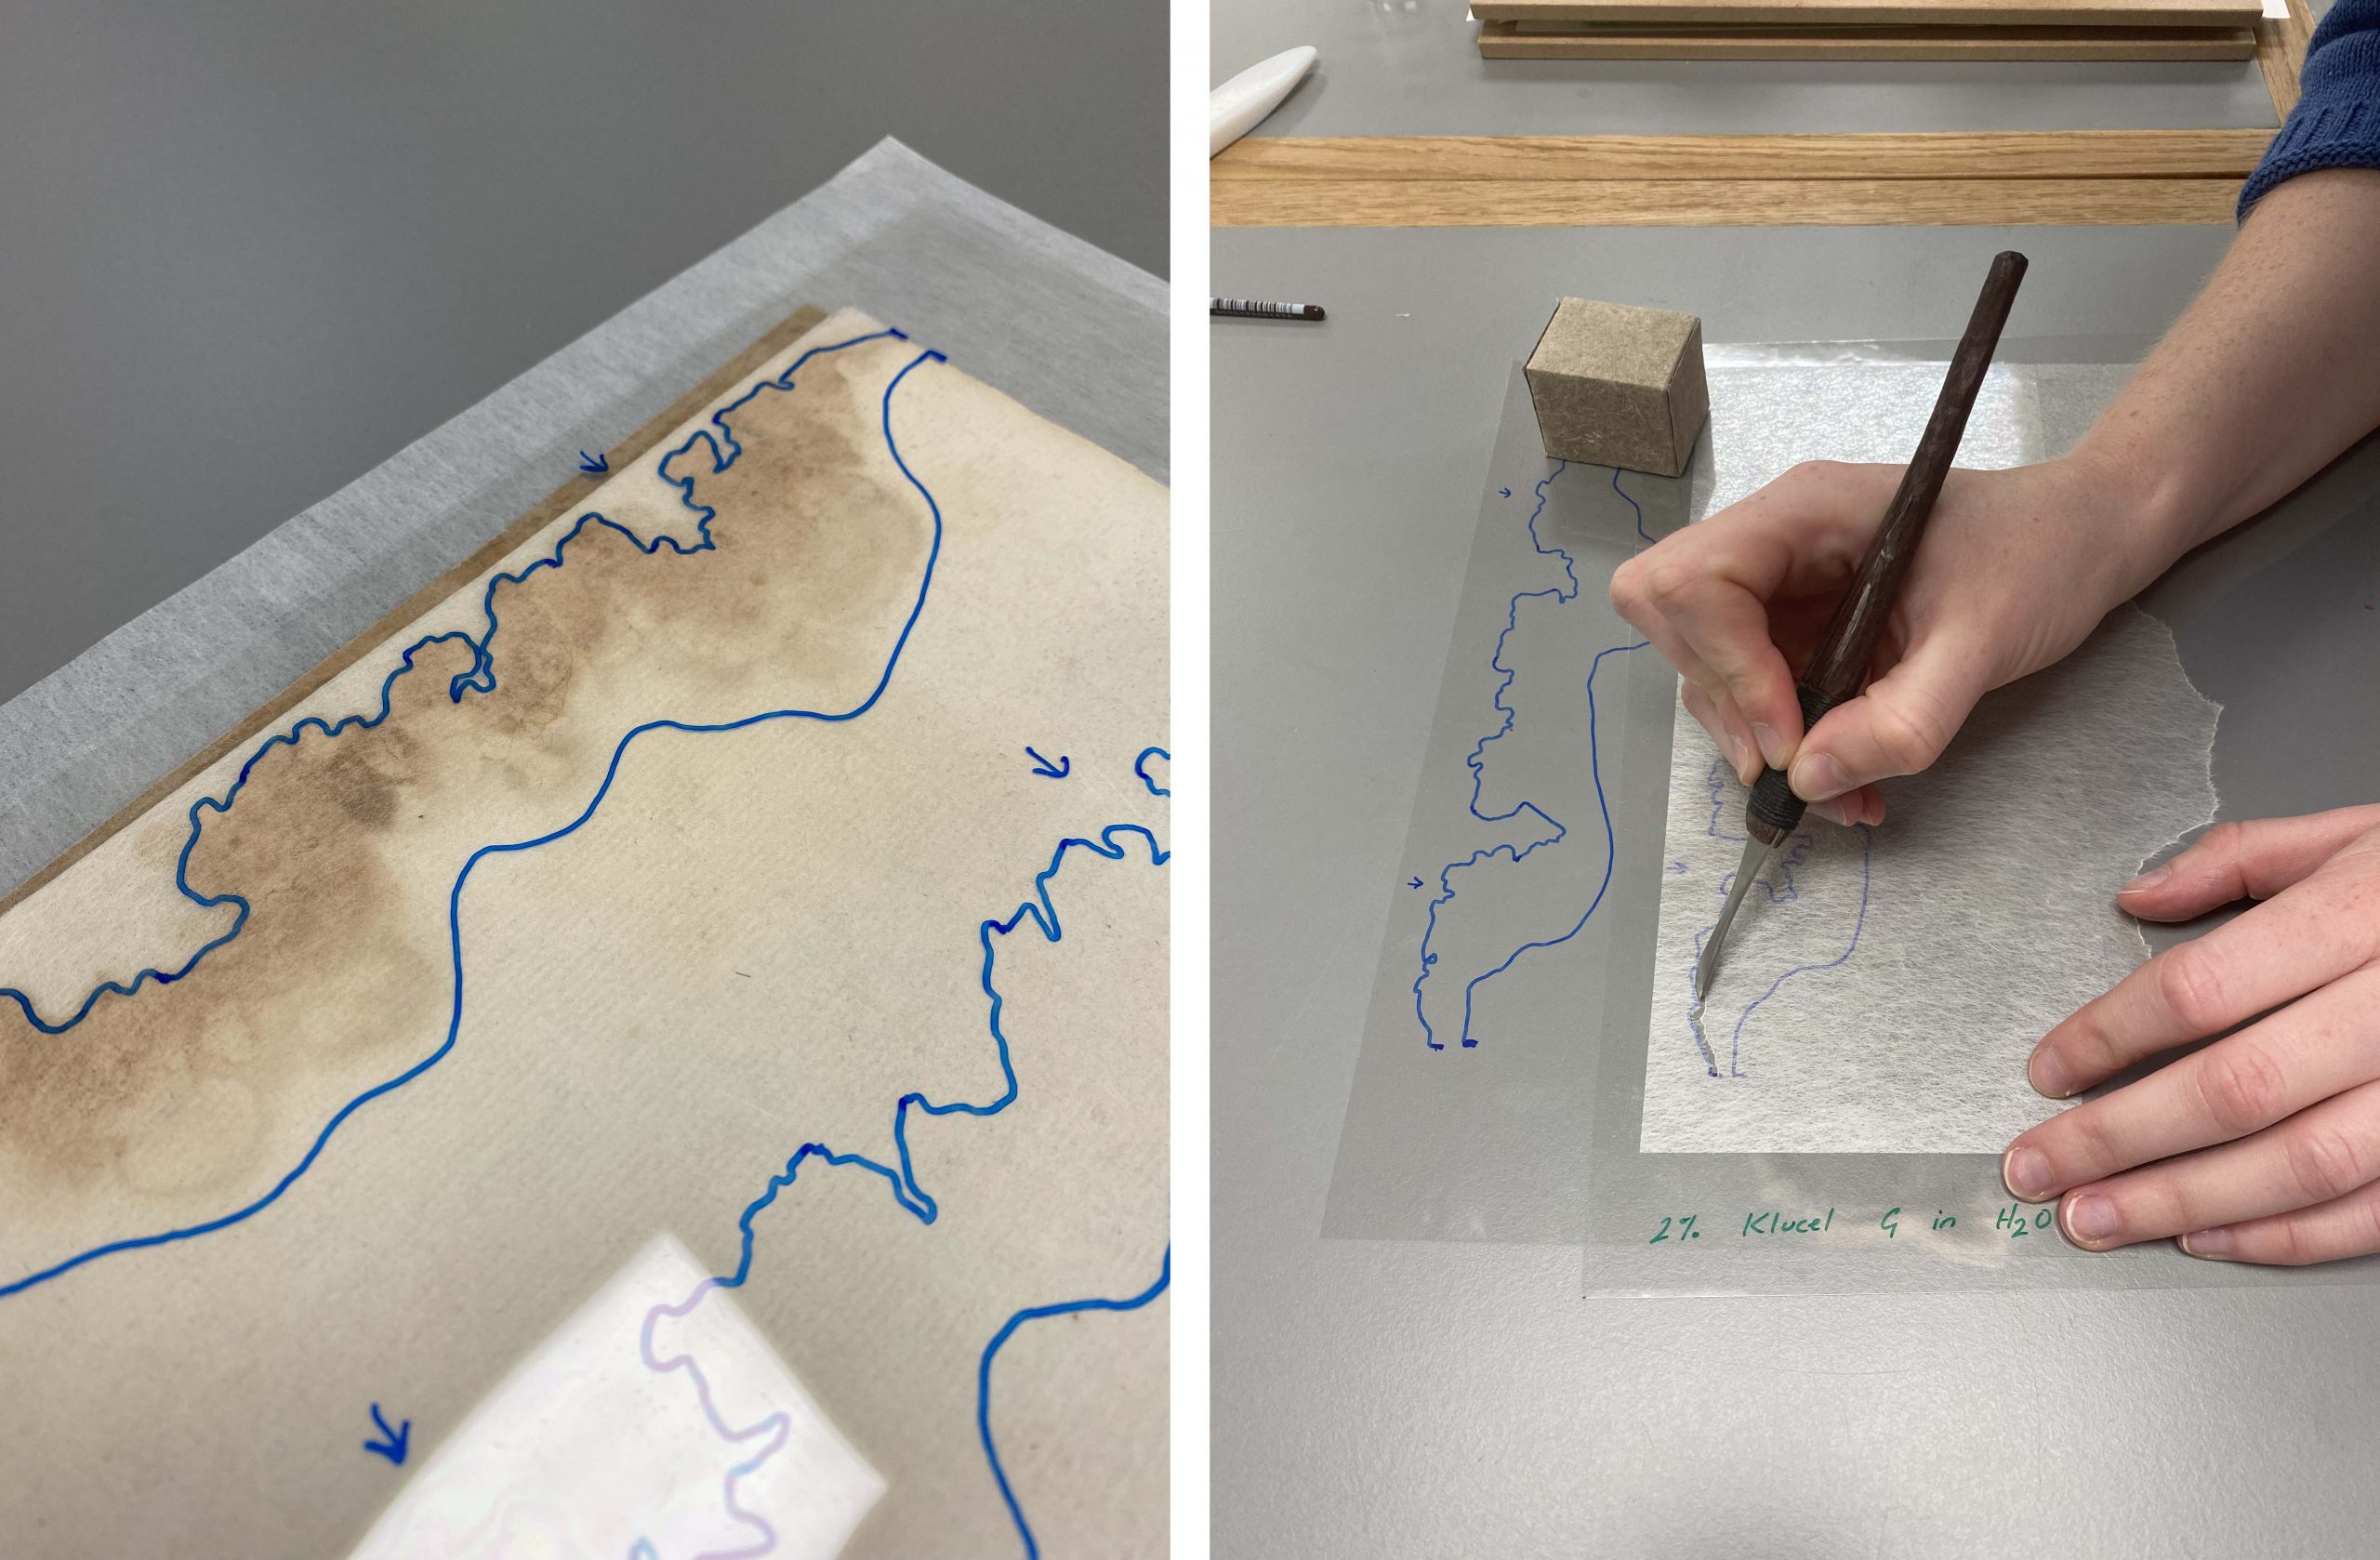
Figure 9: the 2% Klucel G repairs were shaped on Melinex® using a Peachey scraping scalpel, then peeled away from the Melinex® and positioned on the relevant page.
Once the text block had been repaired, the covers were repaired with a combination of remoistenable (50:50; WSP:3% Methylcellulose) acrylic-toned 5gsm RK0 tissue and toned 14gsm Usu Mino tissue. Both the recto and verso were repaired with the lightweight RK0 where water damage had occurred, and Usu Mino was used as a fill material where losses had occurred.
Finally, a single sheet insert that had detached from the inner left board was repaired using a 2% Klucel G remoistenable tissue (untoned, 5gsm RK0). As with the text block, the Klucel G adhesive was reactivated using ethanol-impregnated blotter, but as this sheet was not bound into the volume it was laid flat on the suction table (rather than the Saatifil screen).
The insert was re-hinged onto the inner left cover using a 28gsm Usu Mino and very dry wheat starch paste.
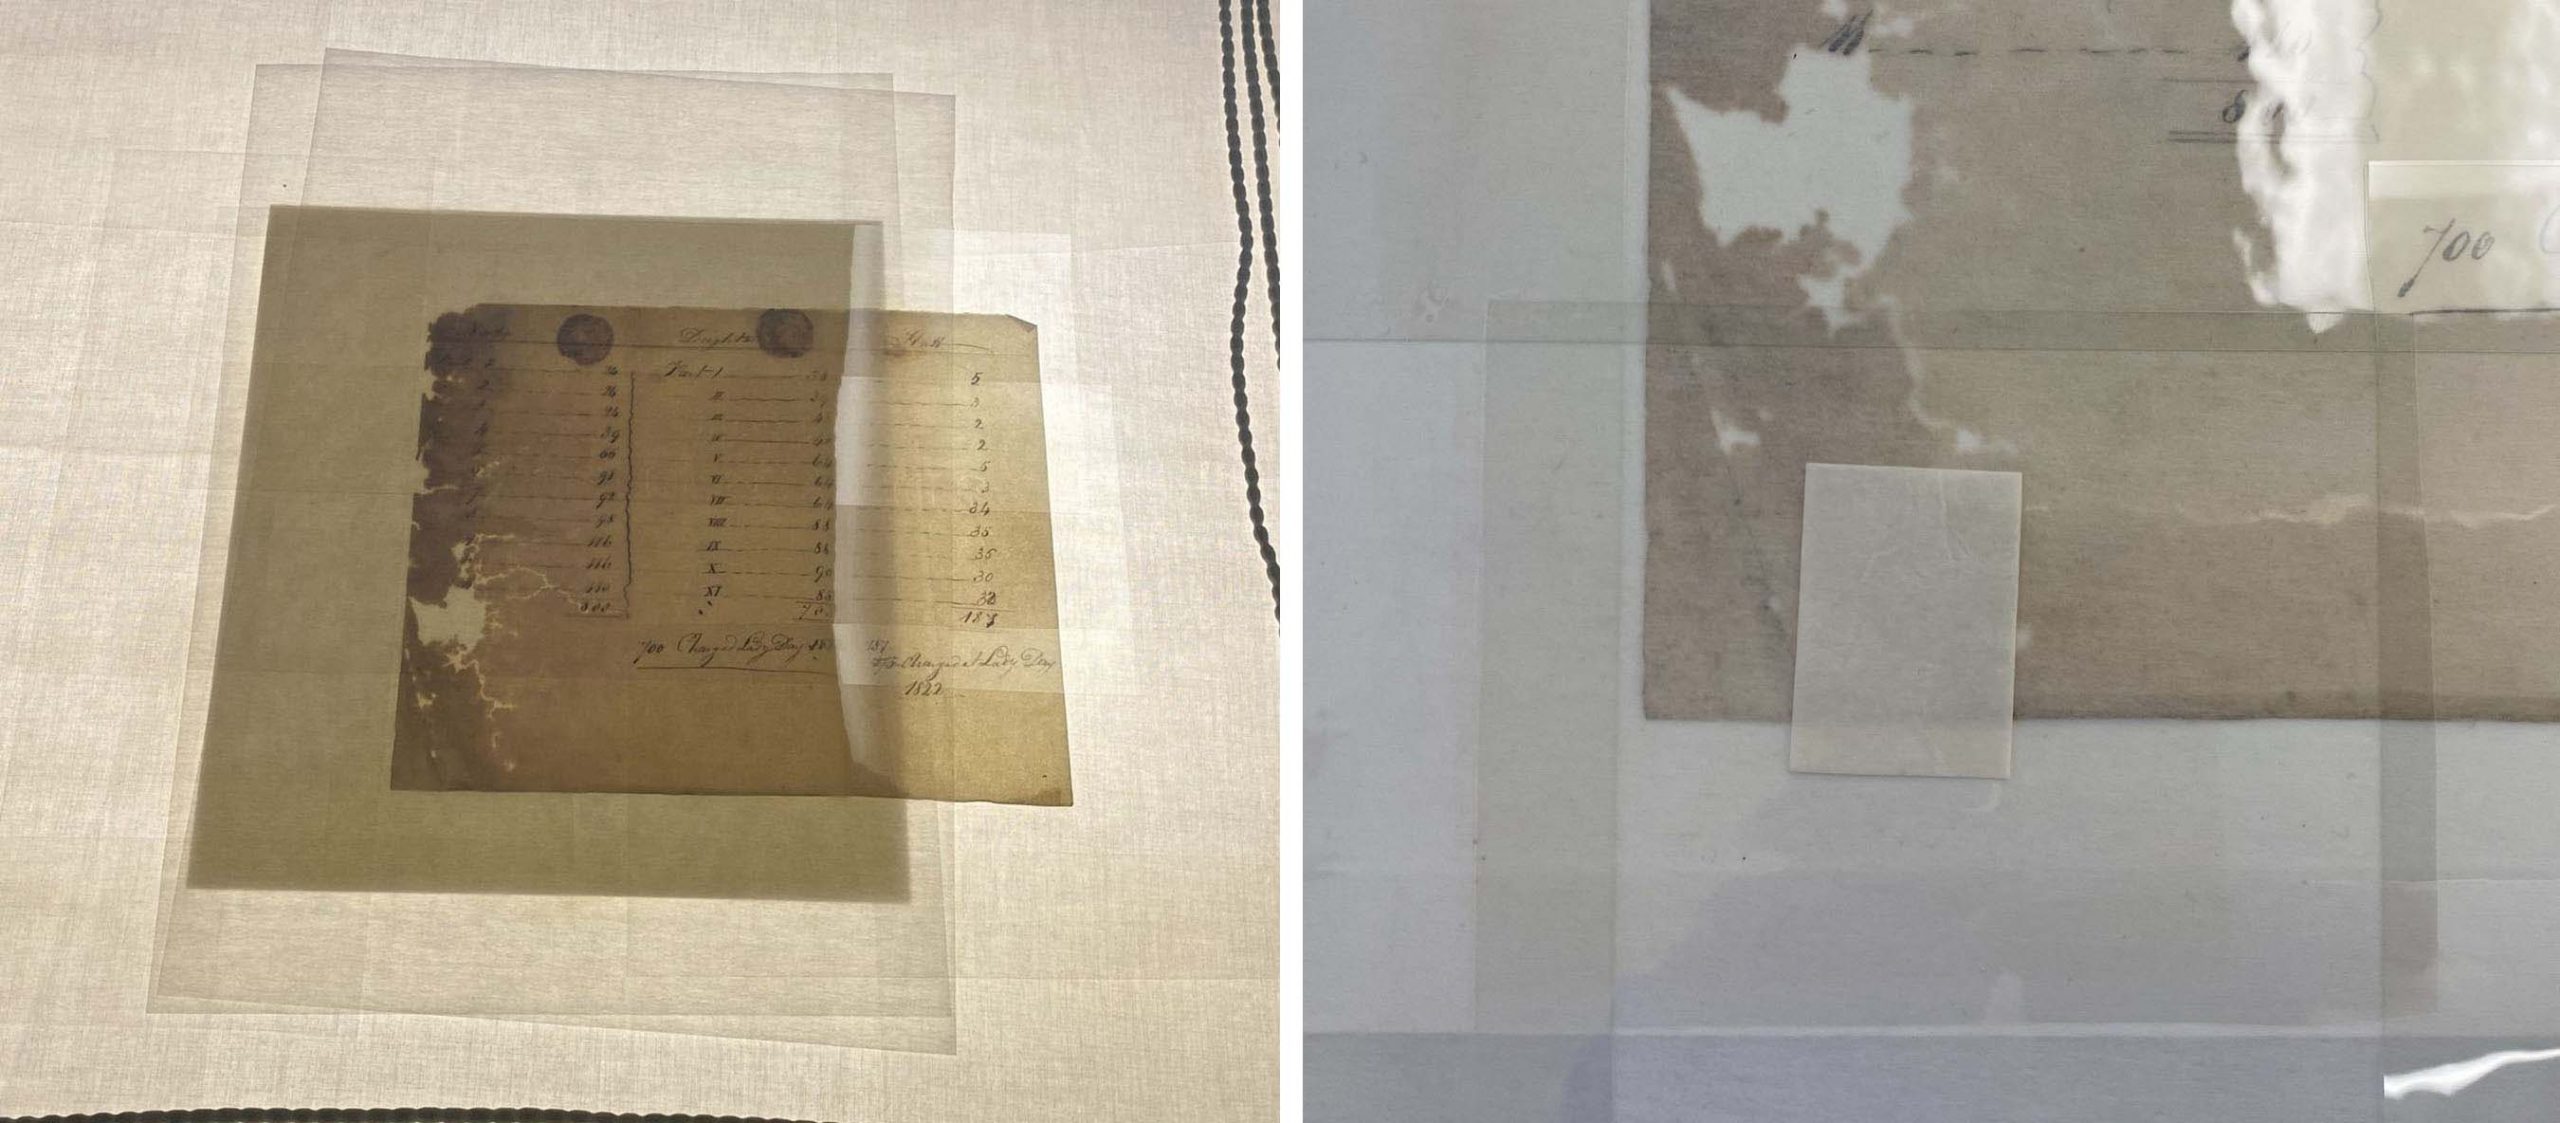
Figure 13: the method for the suction table was the same as that for the wedge, with a vacuum created via suction from underneath, and a Melinex® sheet on top.
The volume is now consolidated and stable enough to be handled – keep scrolling down for some before and after pictures!